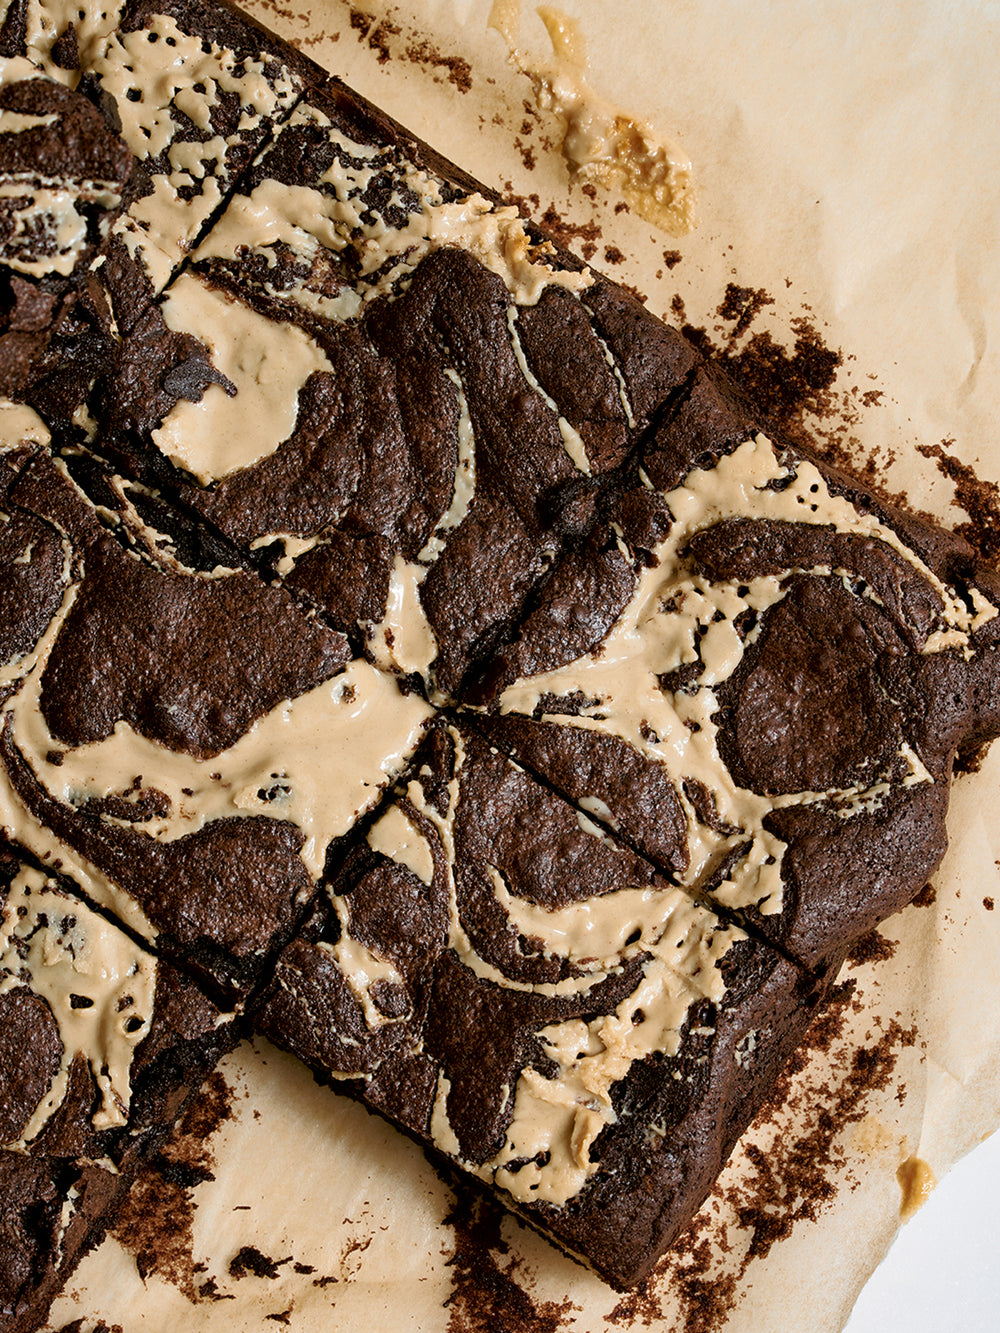

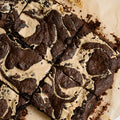
The combination of tahini, halva and chocolate is so good that some members of staff (Tara, we see you!) had to put a temporary ban on their eating of these particular brownies during the making of Simple. It is very hard to eat just the one. To achieve the perfect balance of cakey and gooey – that sweet spot that all brownies should hit – the cooking time is crucial. It will vary by a minute or so between different ovens, and depending on where the tray is sitting in the oven, so keep a close eye on them.
| 250g | unsalted butter, cut into 2cm cubes, plus extra for greasing |
| 250g | dark chocolate (70% cocoa solids), broken into 3–4cm pieces |
| 4 | large eggs |
| 280g | caster sugar |
| 120g | plain flour |
| 30g | dutch-processed cocoa powder |
| ½ tsp | salt |
| 200g | halva, broken into 2cm pieces |
| 80g | tahini paste or Sindyanna Galilean Spread |
| 250g | unsalted butter, cut into 2cm cubes, plus extra for greasing |
| 250g | dark chocolate (70% cocoa solids), broken into 3–4cm pieces |
| 4 | large eggs |
| 280g | caster sugar |
| 30g | Dutch-processed cocoa powder |
| ½ tsp | salt |
| 200g | halva, broken into 2cm pieces |
| 80g | tahini paste |

Tag @ottolenghi on Instagram and hashtag it #ottolenghi so we can see all the deliciousness!

Sweet
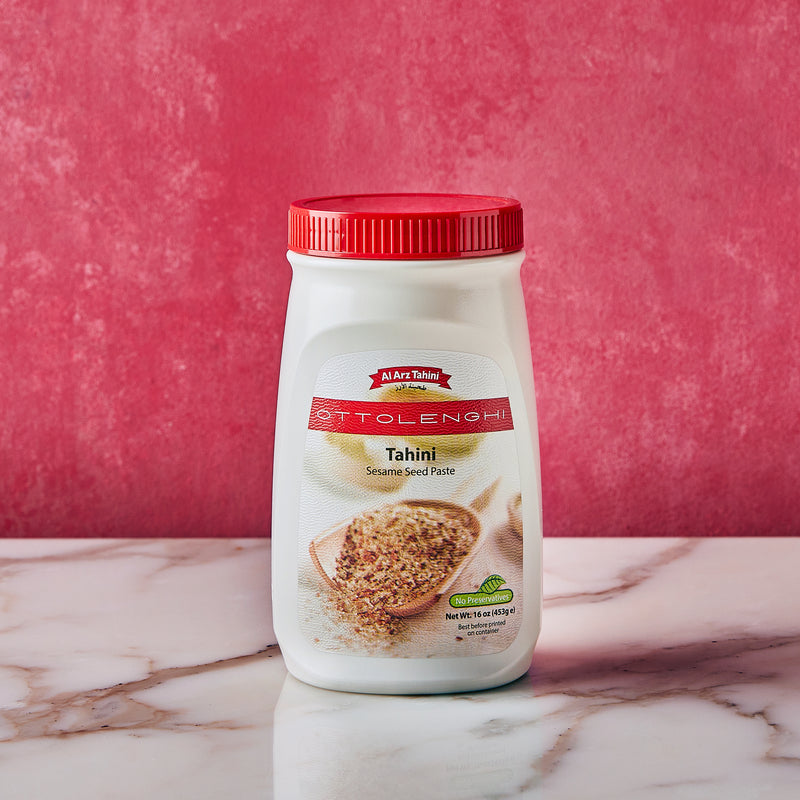
Tahini
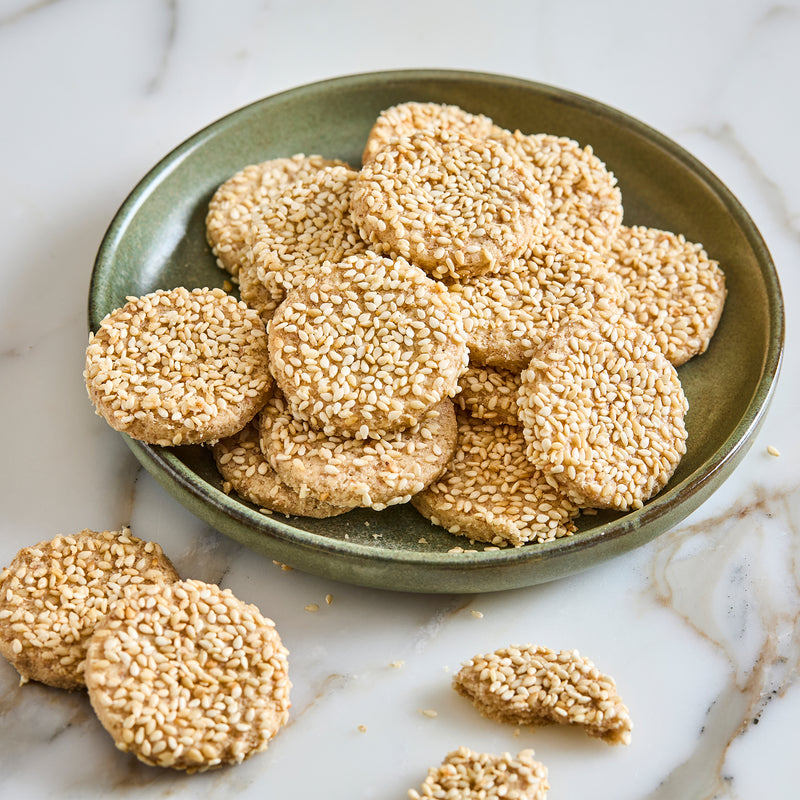
Tahini Biscuits

Whole Sesame Seed Tahini, Al Arz
Follow @Ottolenghi on Instagram and tag your images with #Ottolenghicookoftheweek


Be the first to add a cooking note